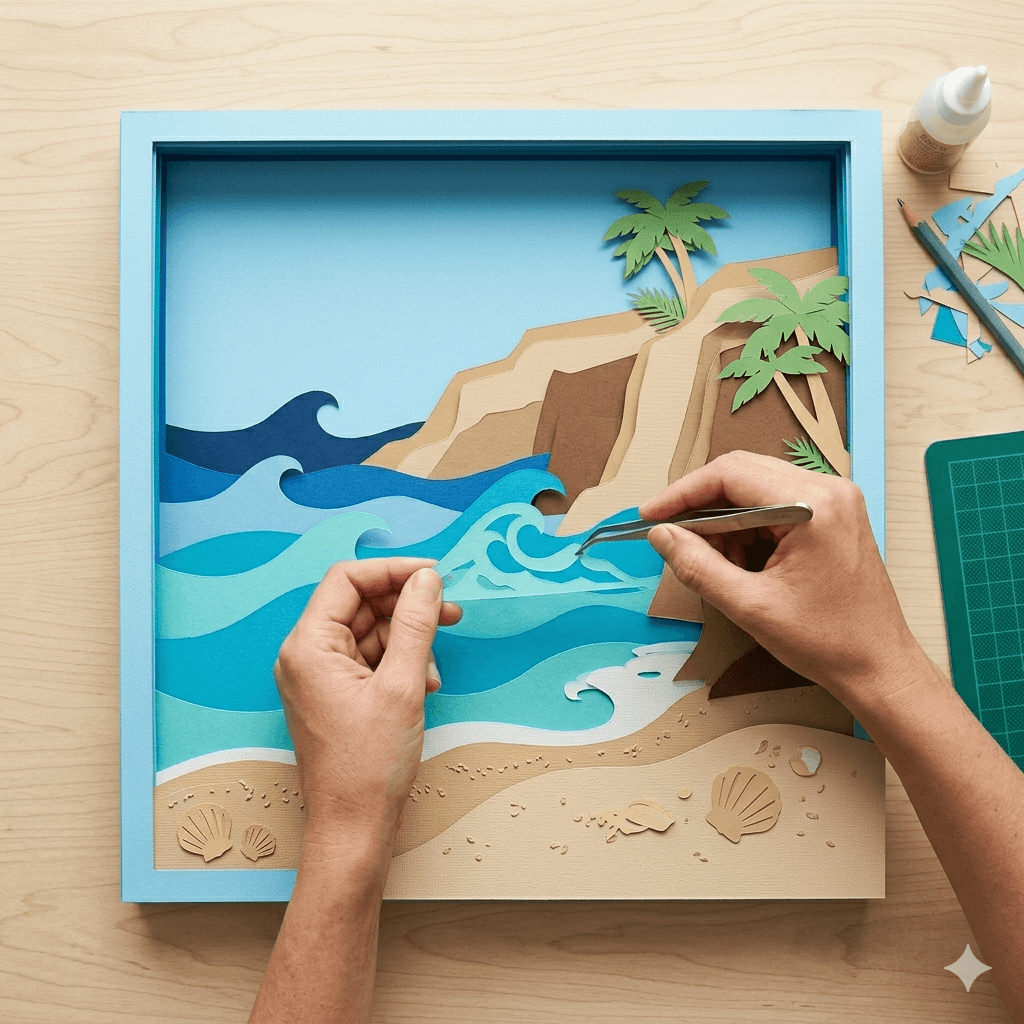
Create a Stunning Beach Scene with Layered Paper

Even If You've Never Tried Paper Art Before

Maria working on a layered paper beachscape

Imagine if you could…

Why even non-artsy people can create this scene

"This looks amazing… but I'm not an artist. I can't draw. I've never painted anything in my life."

But that's exactly why this works.

  • You're not drawing the scene — you're assembling it.Each paper layer adds depth to the ocean, cliffs, and horizon.
  • The design does the artistic work.The shapes are already created to produce balance, perspective, and atmosphere.
  • Depth comes from layering, not drawing skill.Spacing the paper layers naturally creates shadows and a beautiful 3D effect.
  • The process is simple and relaxing.You just cut, stack, and watch the beach come to life.
Maria, creator of the Paper Beachscape Course, smiling

Let me introduce myself…

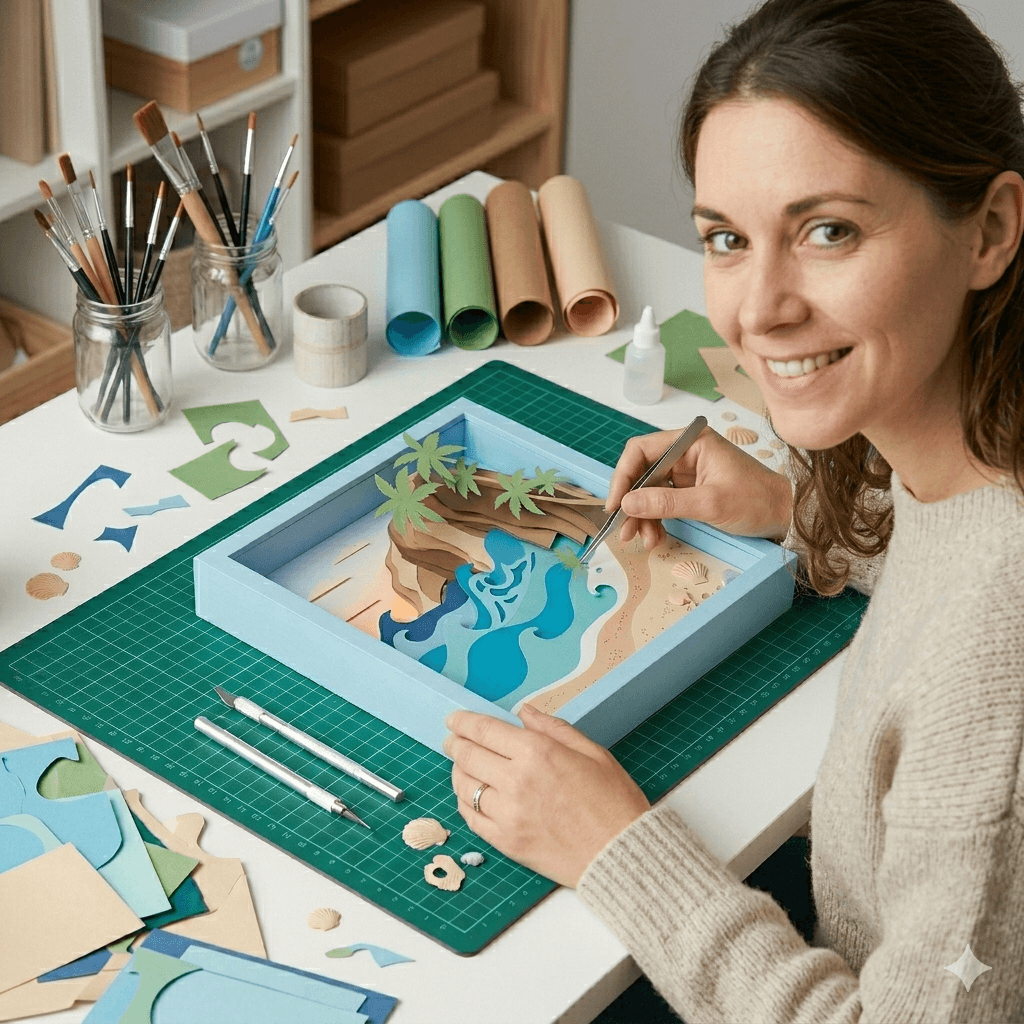
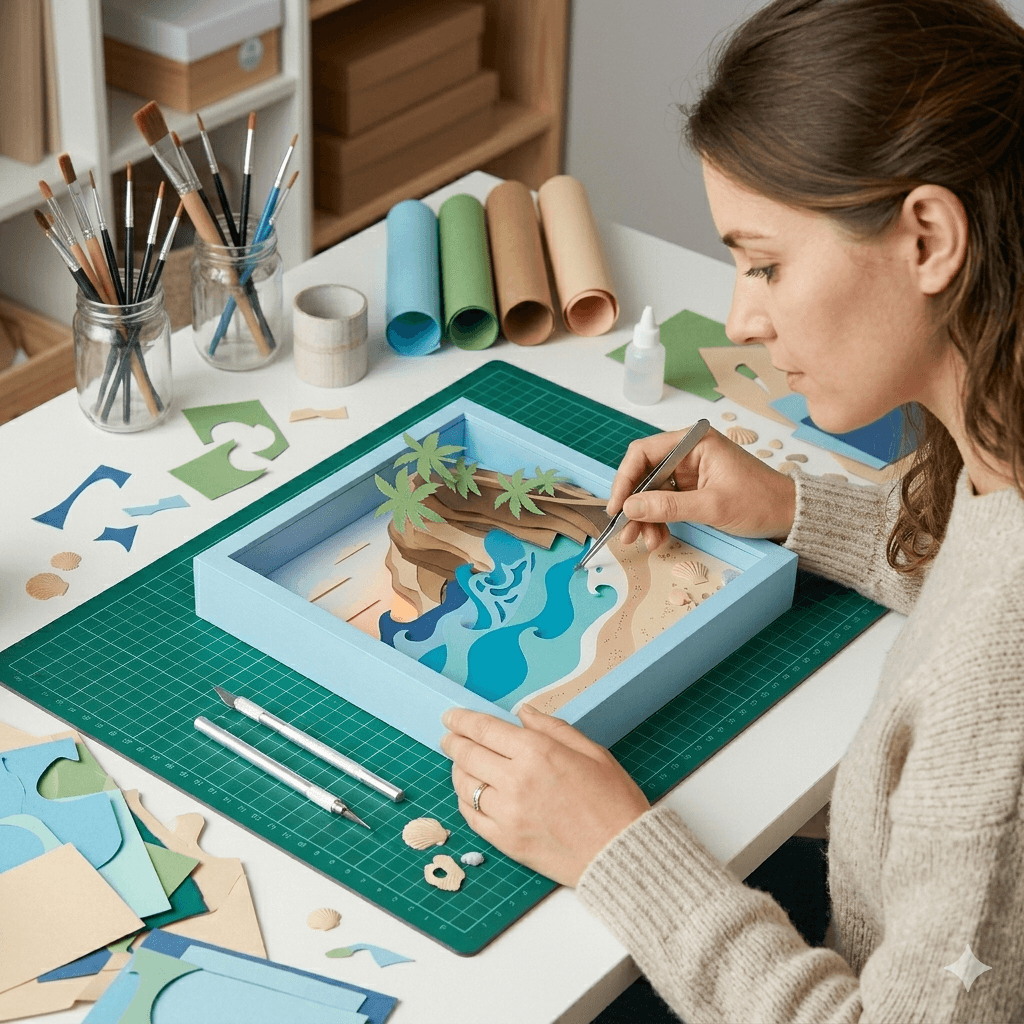
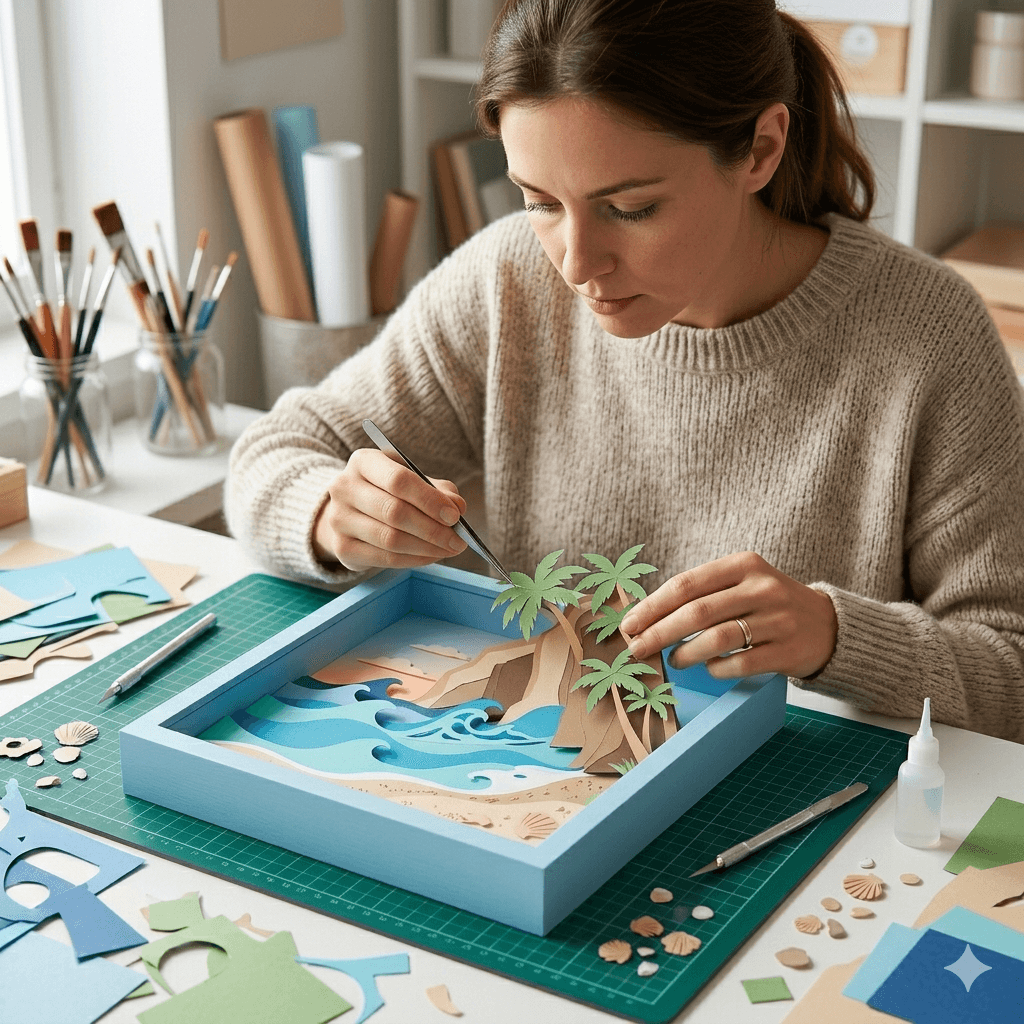
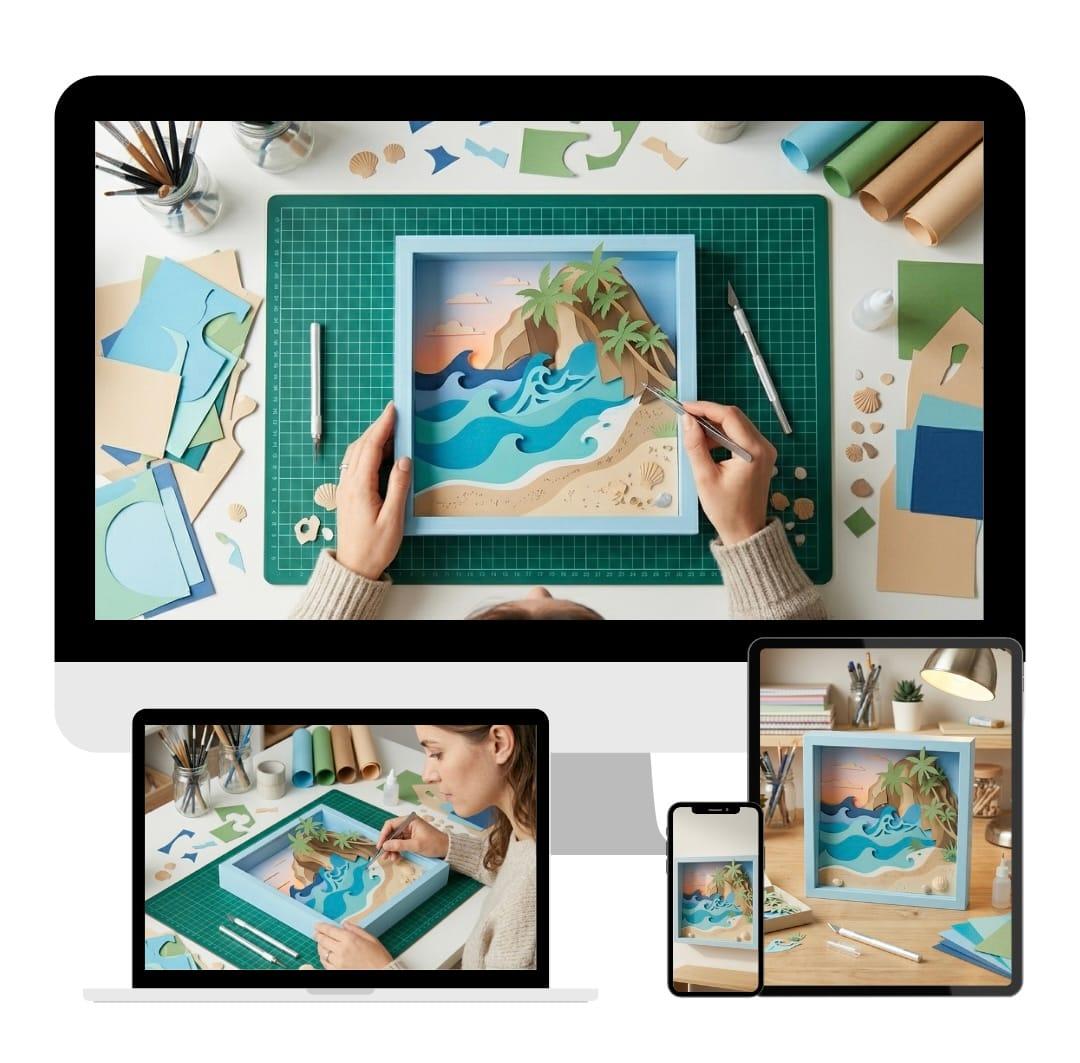
Hi, I'm Maria, and I'm the one behind this beach scene — and I promise, I didn't start out as a layered paper cutting wizard.

I used to look at artwork like this and think "That's beautiful… but I could never make something like that."

I didn't consider myself an artist. I couldn't draw, and creating detailed artwork felt intimidating.

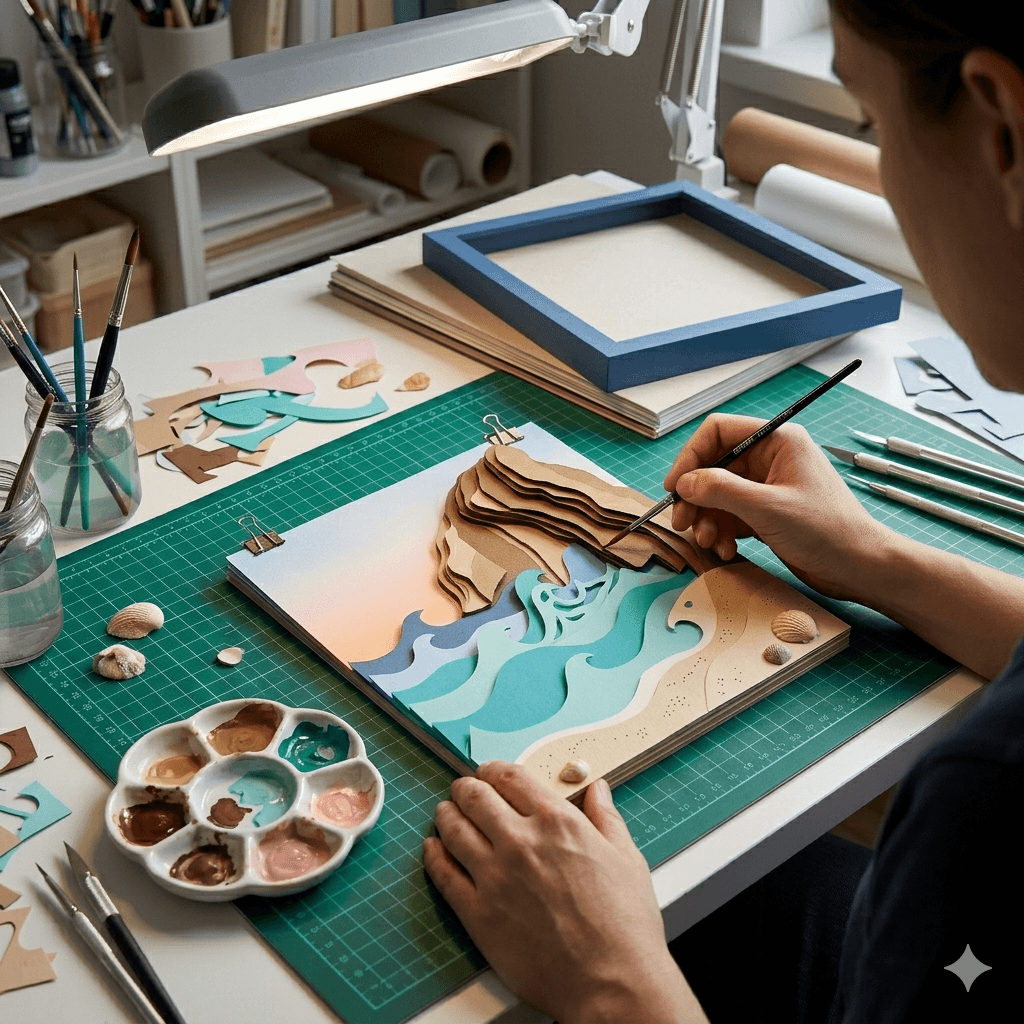
Then I discovered layered paper art and started experimenting.

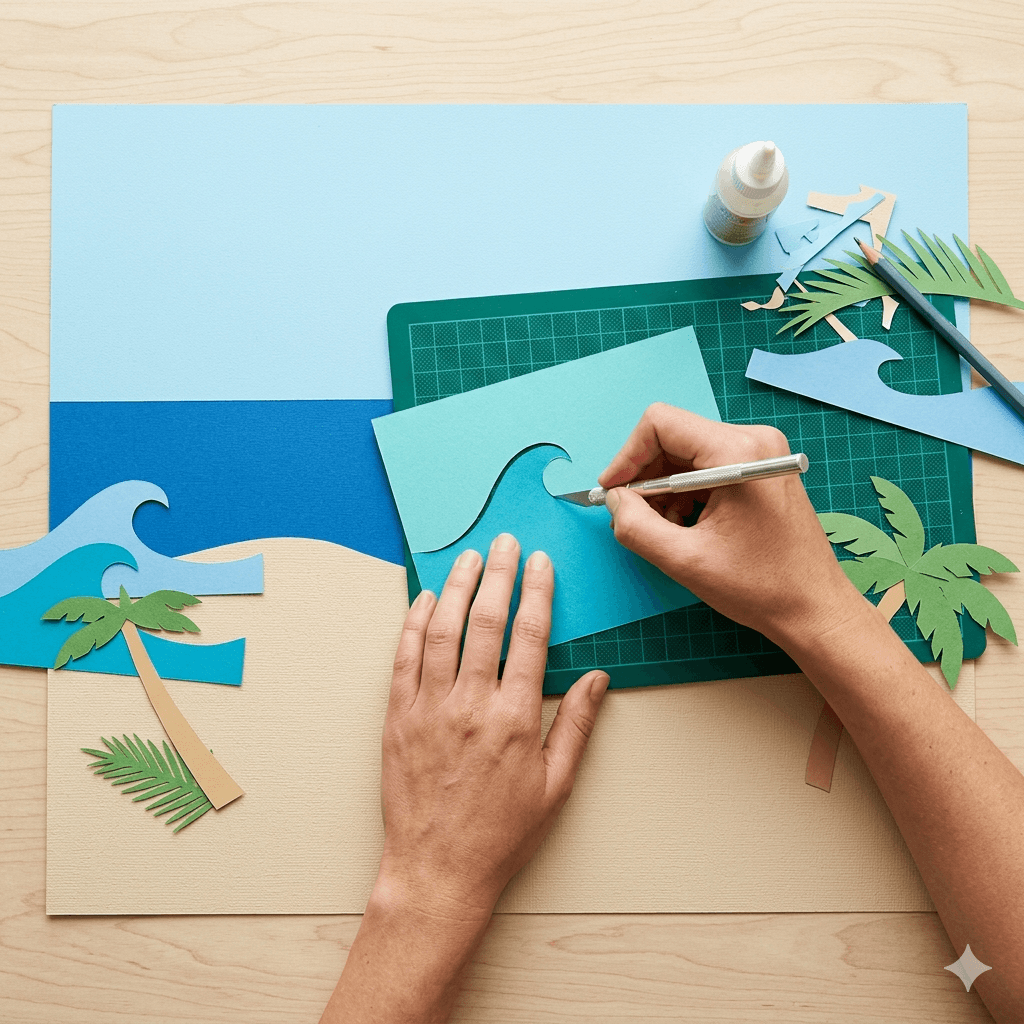
Instead of drawing everything by hand, I realized I could build a scene layer by layer using simple shapes and paper. As I stacked the layers, depth, light, and atmosphere started to appear almost magically.

What started as curiosity quickly turned into a passion.

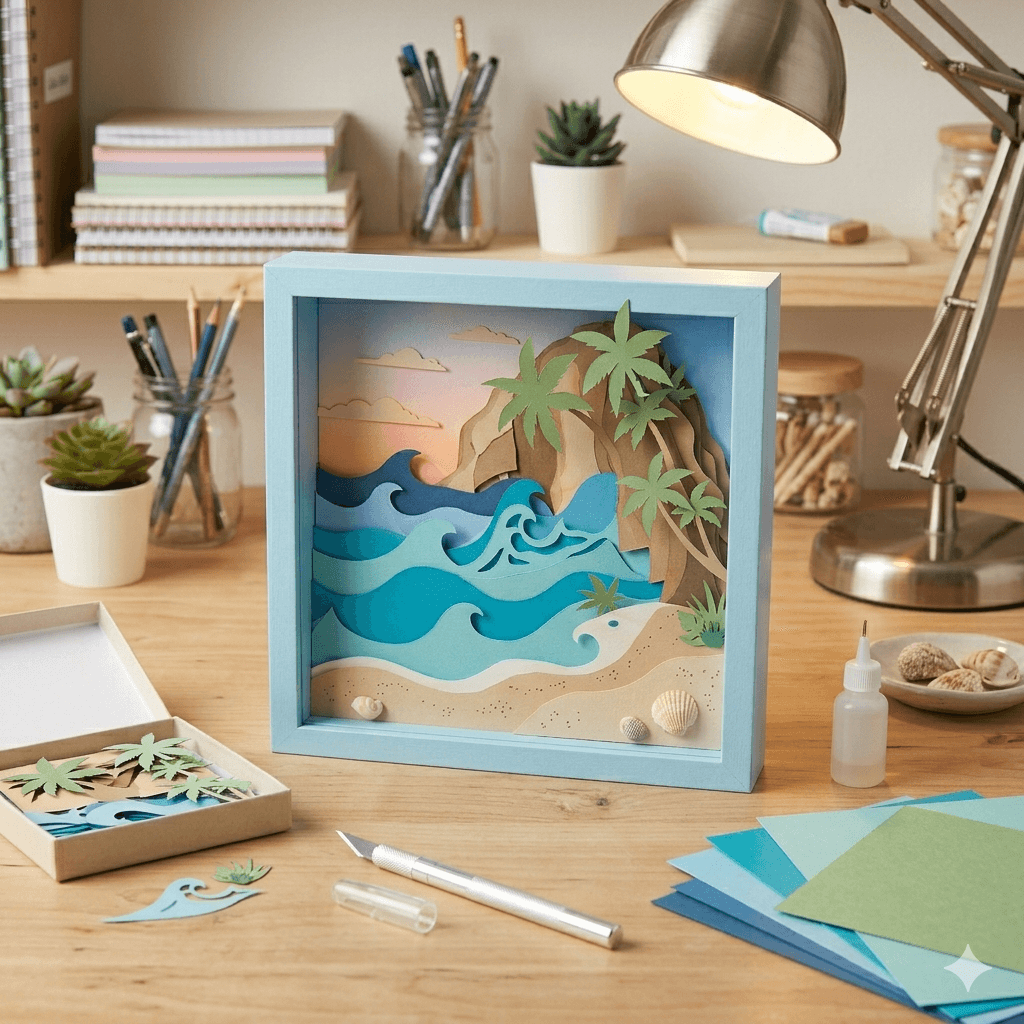
Today, I create intricate layered paper landscapes — and I designed this beach scene so complete beginners like you can experience the same joy of seeing your artwork come to life.

If you've ever wanted to capture the calm, beauty, and magic of the ocean in your own hands, you're exactly in the right place.

Introducing

The Paper Beachscape Course

What's Inside the Course

Five focused modules that take you from blank paper to a gallery-ready beachscape.

1

Gathering Your Materials

Materials and tools for the paper beachscape
  • The paper types that make your waves and cliffs pop — and the ones that fight back
  • A budget-friendly trick: how to use ordinary craft sheets you already have at home
  • Why a simple pair of scissors and a hobby knife are all you really need
  • How to pick colors that instantly make sunrise and sand feel real
  • The little tools you didn't know you'd love — and when to actually use them
  • How to set up your workspace so even a tiny table feels like a studio
2

Cutting the Base Layers

Cutting paper wave shapes for the base layer
  • Start with just one large sheet — and turn it into a horizon that feels endless
  • Why cutting slightly irregular waves actually makes the ocean feel alive
  • The surprisingly easy trick to get soft, natural-looking sand without fuss
  • How to position the base cliffs so they frame your beach perfectly
  • How to make flat paper feel like real depth
  • My favorite simple method to keep all your base pieces aligned and sturdy
3

Adding Midground Elements

Adding midground detail elements to the beachscape
  • The trick to layering cliffs so they pop forward without looking fake
  • Why adding tiny beach details can make a huge difference in realism
  • How to arrange shells, rocks, or small textures so they feel perfectly placed
  • The "secret spacing" that instantly gives your scene a 3D effect
  • Keeping everything steady while you keep adding layers
4

Highlighting Light & Details

Adding light and detail highlights to the layered paper scene
  • How to use subtle color shifts to make sunlight feel real on the waves
  • The little trick to add soft highlights that make cliffs pop forward
  • Why layering translucent paper can give your sky that dreamy sunrise glow
  • How to create natural shadows that instantly add depth — no painting required
  • An easy way to make small details like foam and sand sparkle
  • My go-to tip for blending light and shadow so your scene looks magical from every angle
5

Assembling & Finishing

Assembling and finishing the complete paper beachscape
  • How to stack and glue each layer so depth really pops without shifting
  • The simple trick to align cliffs, waves, and shore perfectly every time
  • Why small tweaks at the edges can make a big visual difference
  • How to secure delicate details so nothing bends or curls
  • The finishing touches that make your scene feel polished and complete
  • My favorite way to display your beachscape so it looks gallery-ready, even on a small shelf

Let's talk numbers

The page you're seeing right now is a beta test. I'm not sure I can give my personal attention to more than 100 people — so I'm selling it for a fraction of the regular price, just for now.

Normally $97

Now Only

$47

One time payment · No subscription ever

Unlock Lifetime Access Now
One Time Payment Lifetime Access 30-Day Guarantee

If I can't handle the support load, I'll pull this page entirely. This price won't last.

30-Day Money Back Guarantee

I want you to feel confident in your purchase. If the course isn't right for you, you can request a full refund within 30 days — no questions asked. Your satisfaction is what matters to me, and I'm here to make sure you're supported every step of the way.

Get this bonus free when you join today

Bonus: Framing & Display Guide

Finished framed paper beachscape displayed on a desk shelf
Free Bonus

Framing & Display Guide

  • Easy ways to mount and frame your paper beachscape for a polished look
  • Hacks for protecting your layered artwork from dust and bending
  • Creative display ideas for shelves, walls, and gifts

This is everything you are getting

The Paper Beachscape Course shown on desktop, laptop, tablet, and phone

Normally $97

Now Only

$47

One time payment · No subscription ever

Unlock Lifetime Access Now
One Time Payment Lifetime Access 30-Day Guarantee

Frequently Asked Questions

Nope! This course is made for beginners — you don't need any drawing or painting skills.

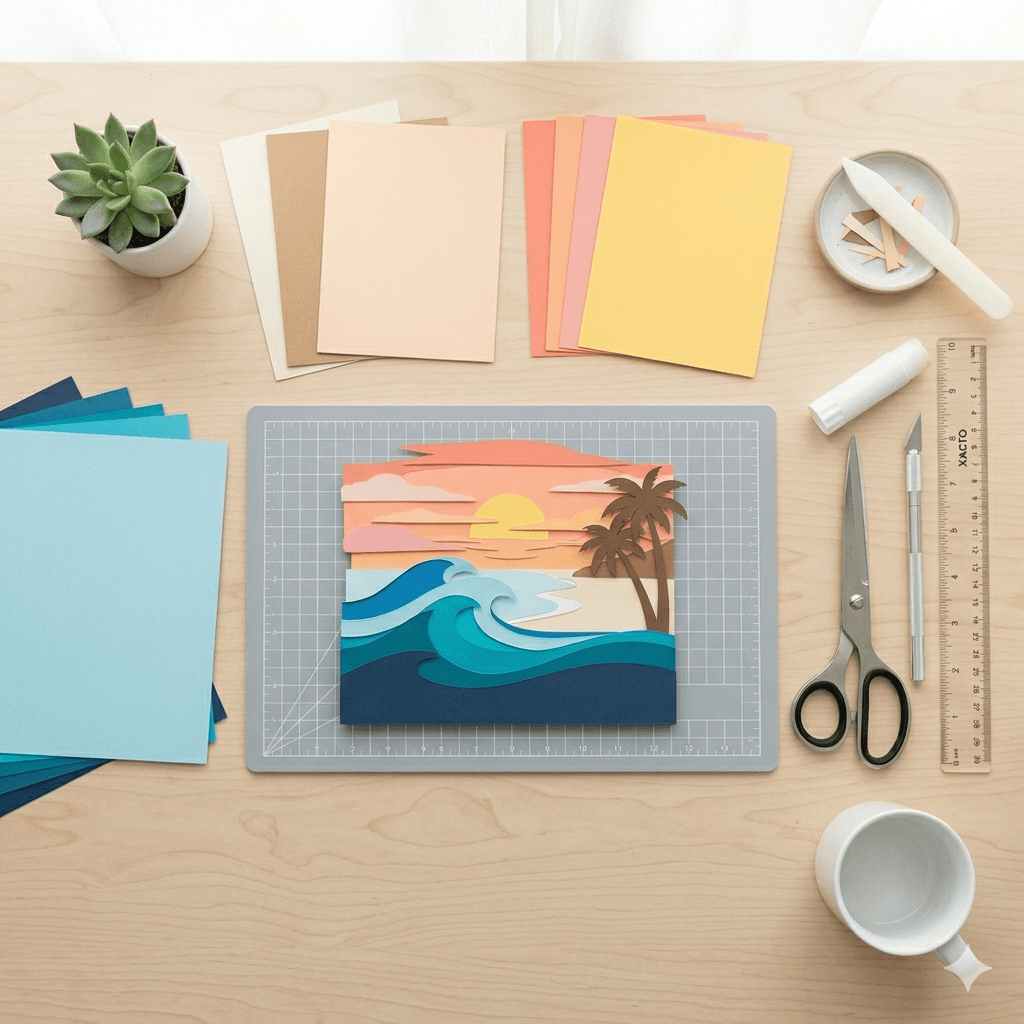
Just paper, scissors or a hobby knife, glue, and some colors. I show you exactly what works.

Most students finish in a few hours, but you can go at your own pace.

It's totally online — so you can watch, pause, and follow along anytime, anywhere.

Absolutely! Maria will provide guidance and tips so you're never stuck.

Absolutely! I'll give guidance, but you can pick colors to match your style.

Not at all — a small table or even a kitchen counter works perfectly.

Yes! The layering technique creates depth and detail automatically, even for beginners.

Totally safe — we show you simple techniques to cut carefully and confidently.

Nope! You can use common craft paper or even recycled paper — I'll give all the tips.

Mistakes are easy to fix, and some "happy accidents" even improve the look.

With adult supervision, yes! Cutting and layering is fun for kids too.

Ready to create your beachscape?

Join today and start turning simple sheets of paper into something beautiful enough to frame.

Unlock Lifetime Access — $47

30-day money-back guarantee  ·  One-time payment  ·  Lifetime access